
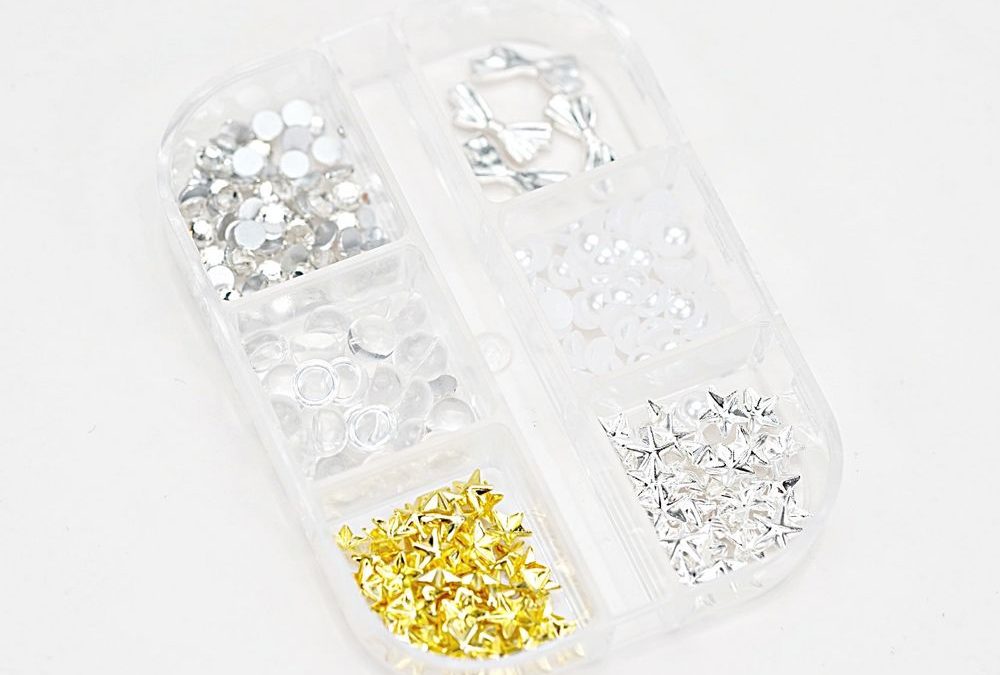
Small accents can transform a manicure from ordinary to eye-catching. Silver star nail charms—paired with clear and white beads—add sparkle and dimensional flair that reads professional when applied with the right technique.
Why choose silver star nail charms for pro-looking nails
These flatback rhinestone accents are lightweight and versatile. Their reflective surfaces and clear/white bead companions catch light and complement both minimal and maximal designs. Used correctly, they sit flush and secure on gel, acrylic, and hard-polish systems for a clean, lasting finish.
Tools, prep and materials you’ll need
Gather the basics: a precision picker or wax pencil, nail glue or builder gel, a fine tweezer, a small dotting tool or orange stick, and a topcoat formulated for encapsulating decor. For stronger adhesion on natural nails use a good primer and base.
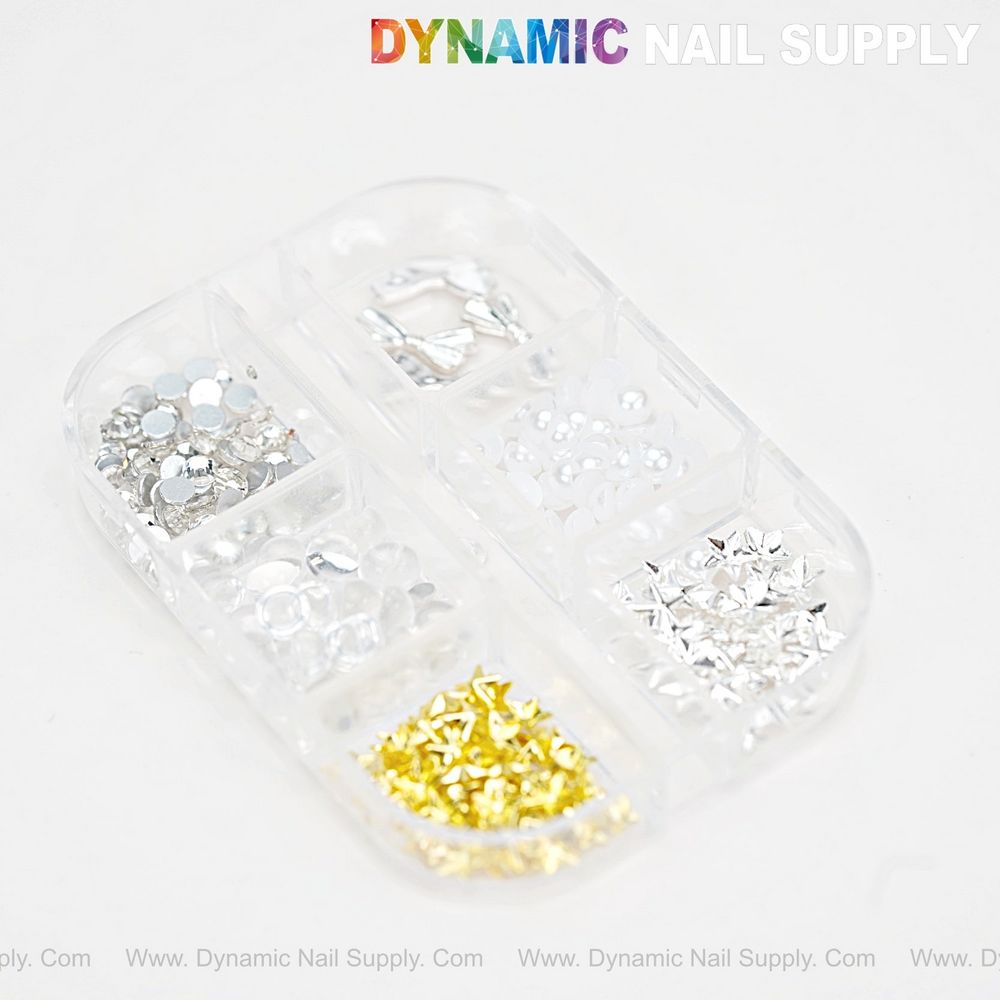
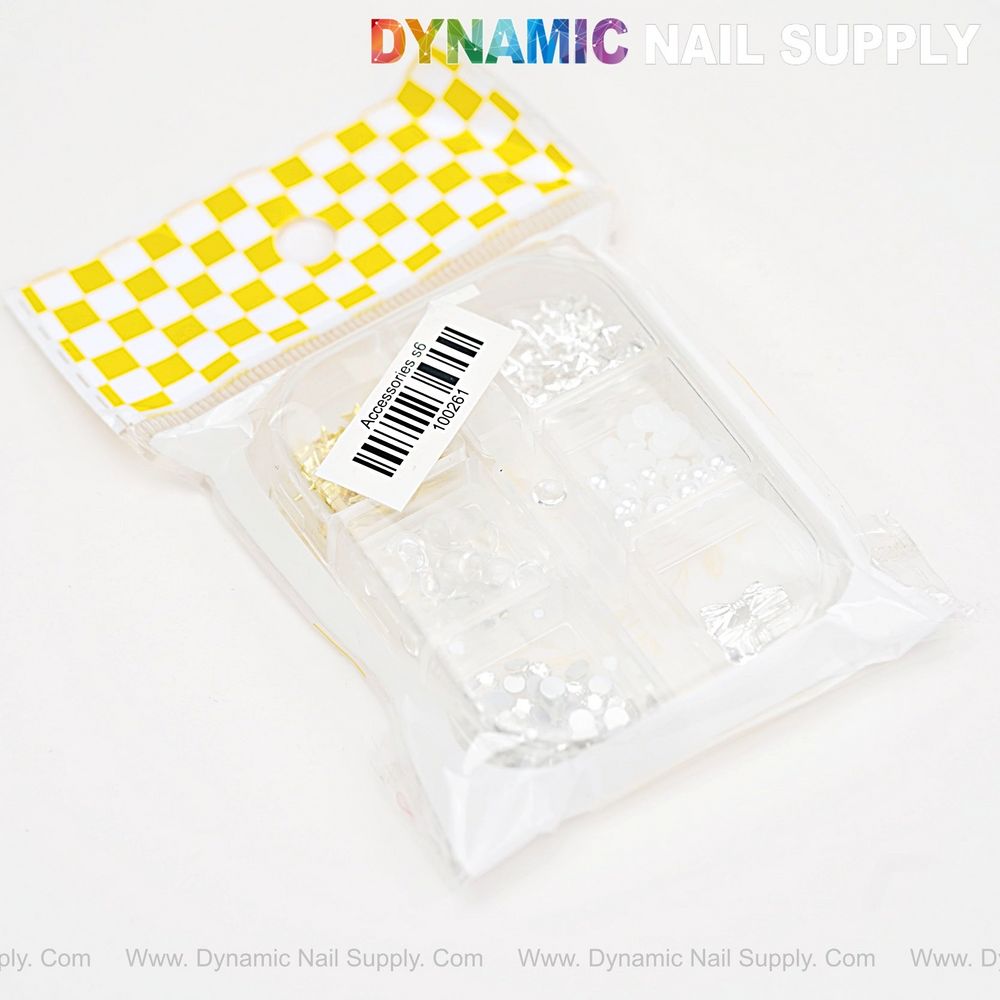
If you want to try them, pick up this silver star pack to get started with a single, ready-to-use kit that includes mixed clear and white beads and silver accents.
Step-by-step: applying charms like a pro
- Prep the nail surface: Lightly buff the shine from the polish or natural nail, cleanse with alcohol, and apply your base layer. A tack-free layer helps placement for some systems; for gel, cure a thin sticky layer if your gel brand recommends it.
- Plan the placement: Arrange charms on a practice surface first. Visualize the layout—single focal star, clustered constellation with beads, or framed along the cuticle.
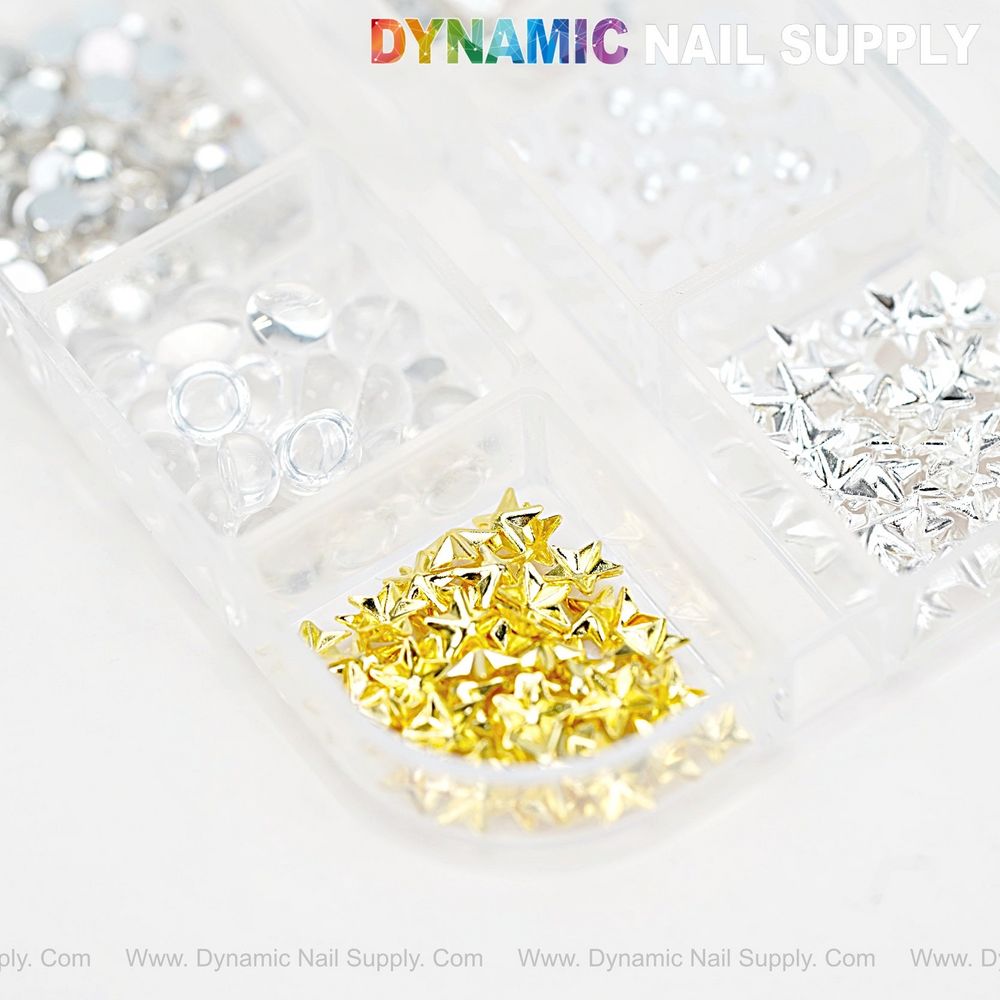
- Place with precision: Use a wax pencil or tweezers to pick up a charm. Apply a dot of gel or glue to the nail where the charm will sit. For gel systems, place the charm then cure under LED/UV according to product instructions.
- Secure and seal: Gently press the charm so it’s seated flat. Use a small amount of builder gel or topcoat to cap edges, then cure. For acrylic, lay a thin bead of acrylic over the perimeter (avoiding clouding the rhinestone) to lock it in.
- Finish: Once cured and dry, wipe any sticky residue with alcohol and apply a glossy top layer around the decoration for extra hold and a smooth finish.
Design ideas and placement tips
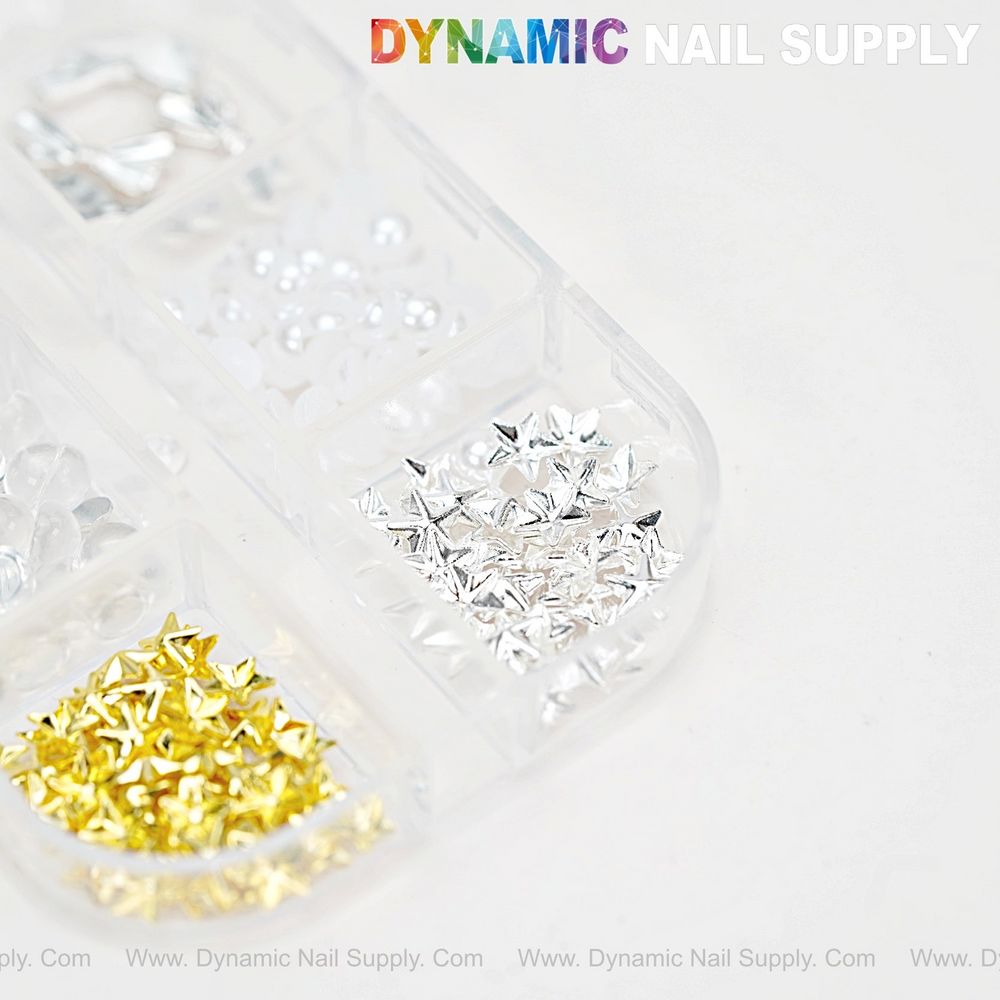
- Accent nail focal point: Place one silver star near the cuticle or at the center tip for a classic look.
- Clustered constellation: Combine several small stars and clear beads along an angled line for a celestial spread.
- Negative-space framing: Use white beads to outline a crescent moon of negative space, then sprinkle a single star for contrast.
- Mix textures: Pair silver pearls and flatback rhinestones for tactile interest while keeping the palette cohesive.
Practical tips for long-lasting wear
Less is often more: use a modest amount of adhesive so excess won’t spill over the charm edges. Press charms gently but firmly to remove trapped air. When using glue, allow a brief tack time before final positioning to reduce slipping. Encapsulate or cap edges with gel/topcoat if you expect heavy wear.
Who this pack is ideal for
This set is a fit for nail pros who want quick accent pieces as well as confident DIYers aiming for salon-caliber results. The mixed clear and white beads make it easy to harmonize with French, nude, or colored bases. The pack is affordably priced at $5.99, so it’s a low-cost way to expand a design toolkit.
Care and safety notes
Keep charms away from small children; they are small parts. When removing, avoid prying over natural nail—soak or soften acrylic/gel first and gently lift using a tool. Store the charms in a dry container to prevent bead loss or scratching of metallic surfaces. If you’re using adhesives, follow manufacturer safety guidance and work in a ventilated area.
Quick troubleshooting
- Charm lifts: Check that the nail was properly dehydrated and that adhesive wasn’t applied to an oily surface.
- Cloudiness after encapsulation: Excessive builder product over the stone can dull shine—use thinner layers or clear gel designed for rhinestones.
- Uneven placement: Reposition quickly before curing; if cured, lift carefully and reapply with fresh adhesive.
With a few pro techniques—careful planning, correct adhesives, and precise placement—silver star nail charms and complementary clear and white beads deliver standout finishes suited to both at-home creators and salon services. For a convenient starter option, consider purchasing this silver star pack from Dynamic Nail Supply and practice arranging small clusters to build confidence and speed.