
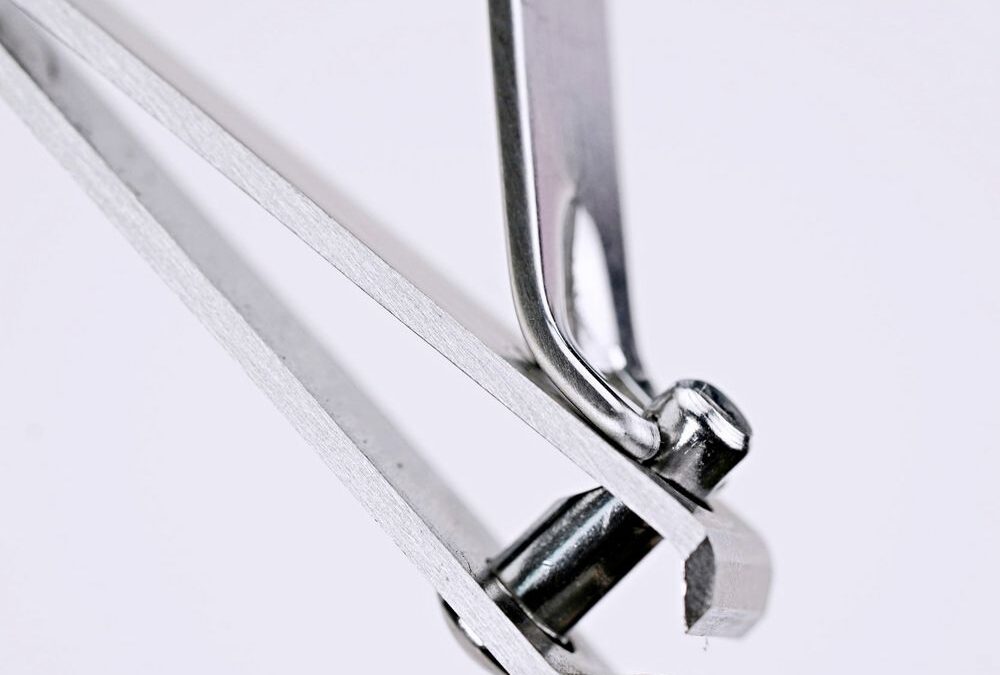
Dear beginner nail tech, think of a large straight nail clipper like a good pair of kitchen shears versus a tiny craft scissor: both cut, but one is built for thicker, tougher material. If you handle your own pedicures or care for someone with firmer nails, this tool gives you the control and bite you need without wrestling for each snip.
Intro: Quick Comparison
You’re probably used to small curved clippers that hug the nail’s curve. Those are fine for neat shaping, but when nails get thick or hard—common as you age or if you go barefoot a lot—a straight-blade, wide-jaw clipper makes those first confident cuts. Its longer handle and broad jaw give leverage and clearance, so you apply less effort and reduce the chance of crushing or splitting the nail.
Prep: Start Clean
Before you cut, set up like a pro. Soak or wash as you normally would to soften nails slightly if they’re very rigid, then dry thoroughly. Lay down a towel or tray so clippings are easy to collect. Keep a bowl of warm water nearby for quick rinses. This nail clipper’s brushed stainless finish wipes clean easily—after each use, rinse, dry, and store it where it won’t pick up moisture.
Technique: Steady Small Cuts
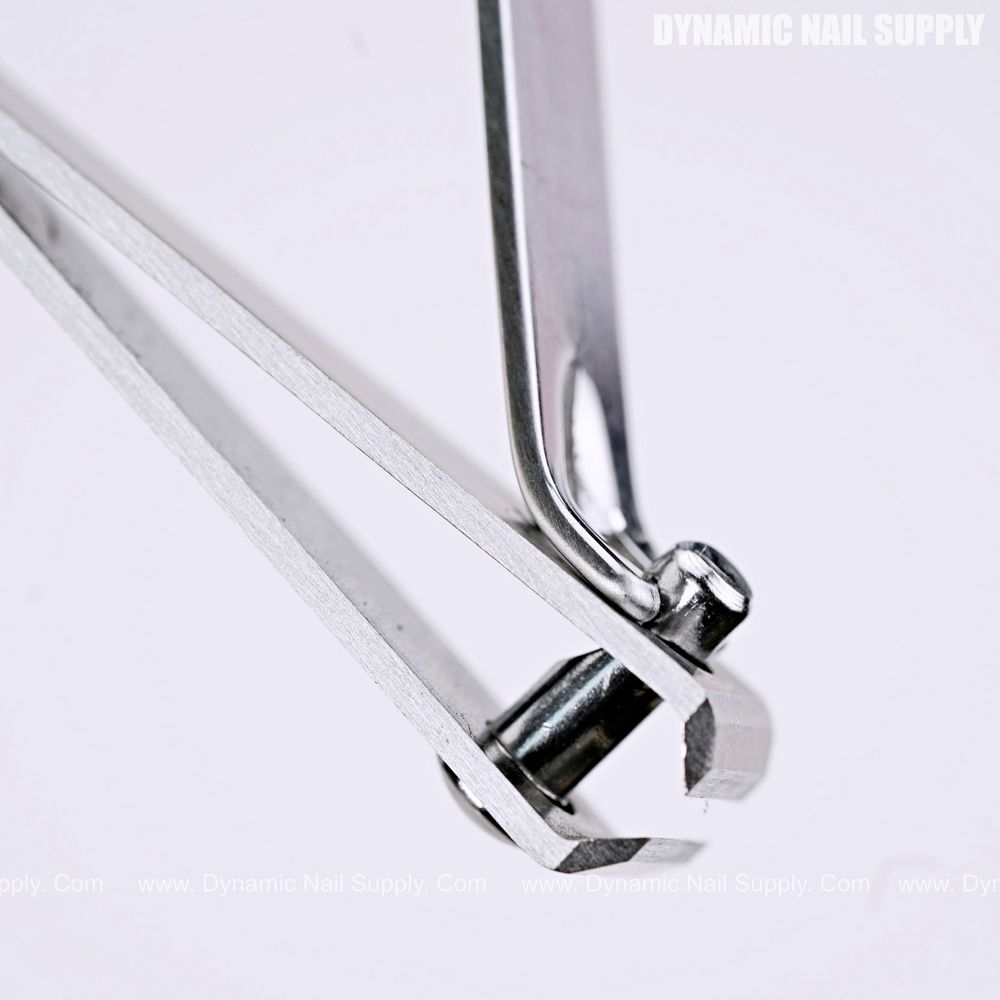
Work in short, controlled snips rather than trying to remove a large chunk at once. Position the straight blade across the full width of the nail, use the extended handle for leverage, and trim a little at a time. That single-spring mechanism helps keep each cut smooth while reducing hand strain, which matters when you’re busy and want a quick, reliable finish.
For toenails, follow the natural straight line of the nail—this helps prevent snagging and keeps the tip from being cut too short. If you’re trimming someone else’s nails, keep your free hand steady on the toe to stabilize it. Remember the safety basics: keep the tool away from children, and don’t cut past the natural tip of the nail.
Care: Clean and Maintain
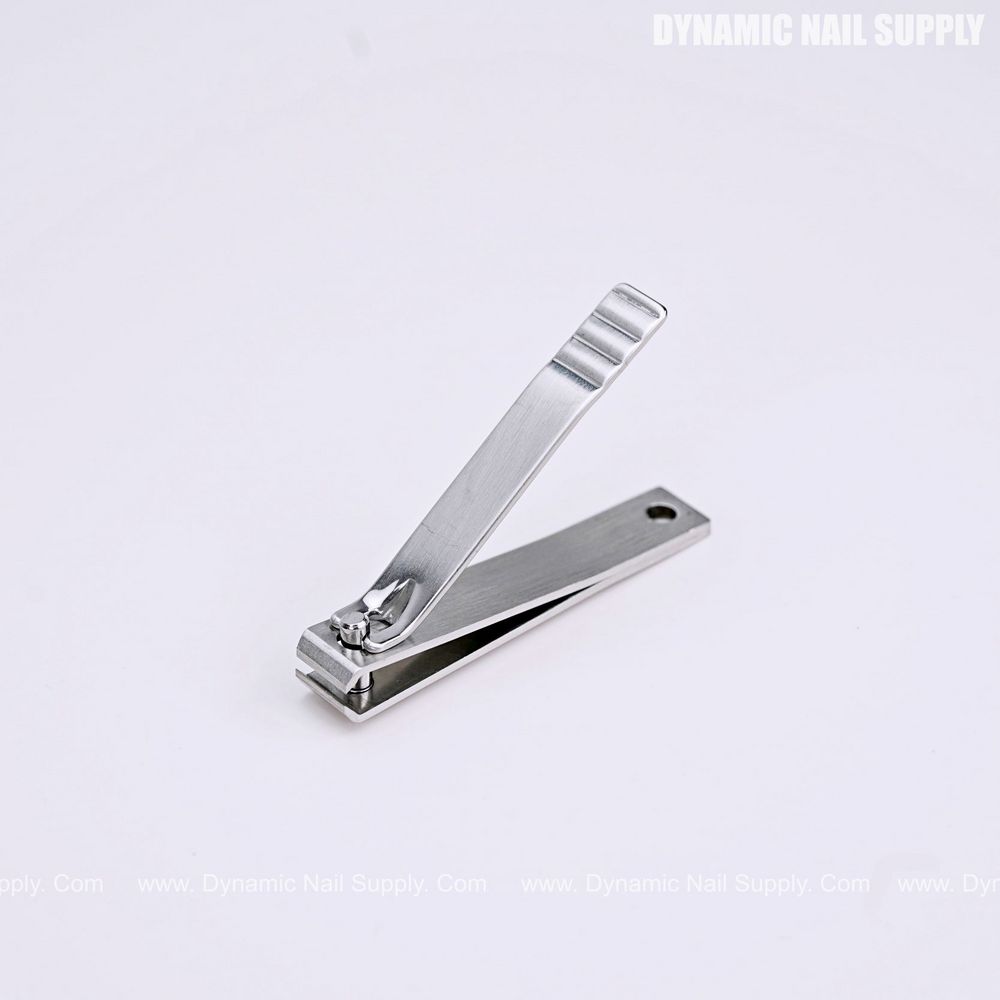
Your clipper will last when you respect simple hygiene. After use, wipe away residue, rinse if needed, and dry completely to avoid moisture sitting on the metal. The square box joint offers good stability; occasionally open and close the lever to check for smooth action. Because the finish is polished stainless steel, avoid abrasive cleaners that could mar the surface. Stow it in a dry drawer or a small pouch so the ridged lever tab and wide jaw aren’t dinged in your toolkit.
Checklist: Starter Steps
- Clean hands and nails; towel or tray in place.
- Soften very hard nails briefly, then dry.
- Position the straight blade flat across the nail edge.
- Trim in small segments using the extended handle for leverage.
- File any rough edges gently—avoid over-trimming.
- Wipe, dry, and store the clipper after use.
Extras: Small Details That Matter
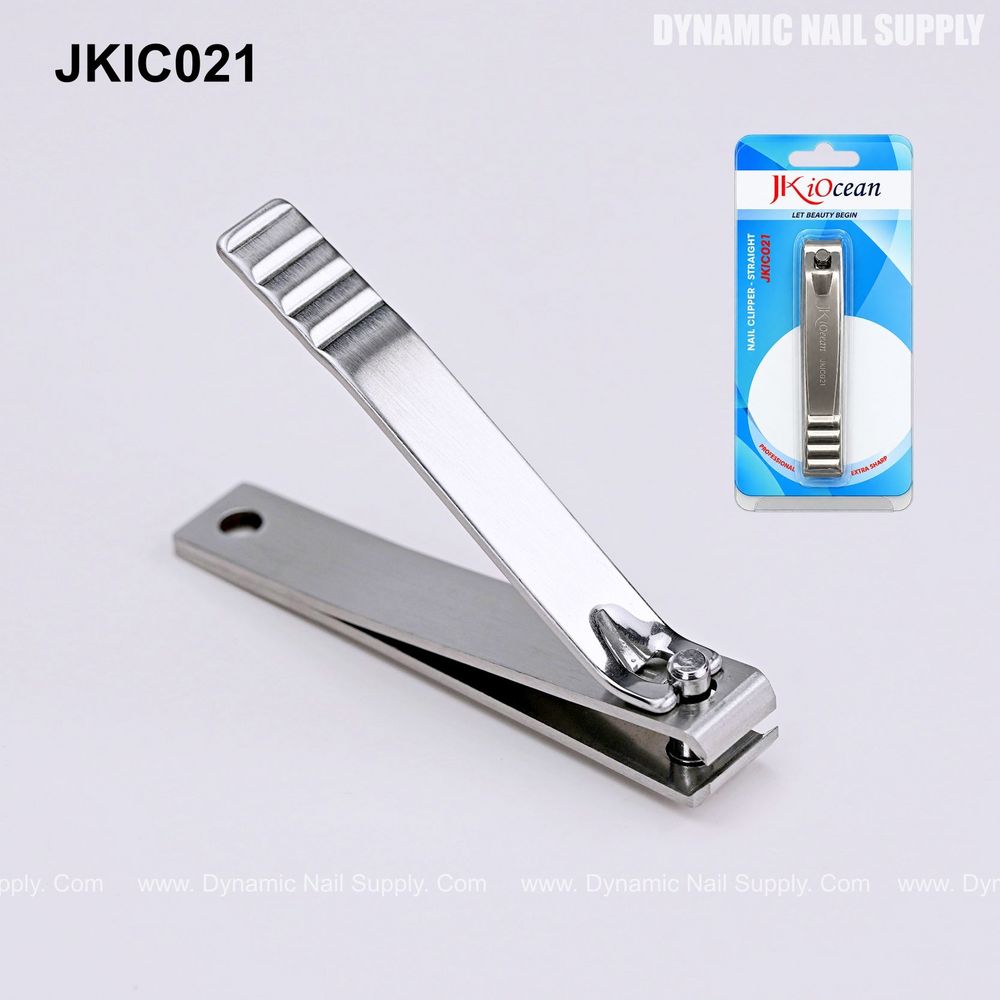
Notice the ridged lever tab for improved thumb grip and the wide jaw that accepts thicker nails easily. Those details make the tool feel steady in your hand and help you keep a consistent line. If you prefer to shop with a budget in mind, this kind of stainless steel clipper is commonly affordable (price shown can change), and it fits neatly into a basic at-home kit for regular maintenance.
You’re busy, so aim for quick, regular trims rather than infrequent overcuts. Use the clipper for trimming and a file for finishing. When you’re ready, pick up the right tool for the job—a robust, straight-blade trimmer that handles thicker nails with confidence like this one—and practice a couple of careful sessions to build comfort.
Yours in steady, clean trims,
A seasoned salon owner cheering you on
Keep a reliable large straight nail clipper in your kit so you can tackle thick toenails quickly and with control.