
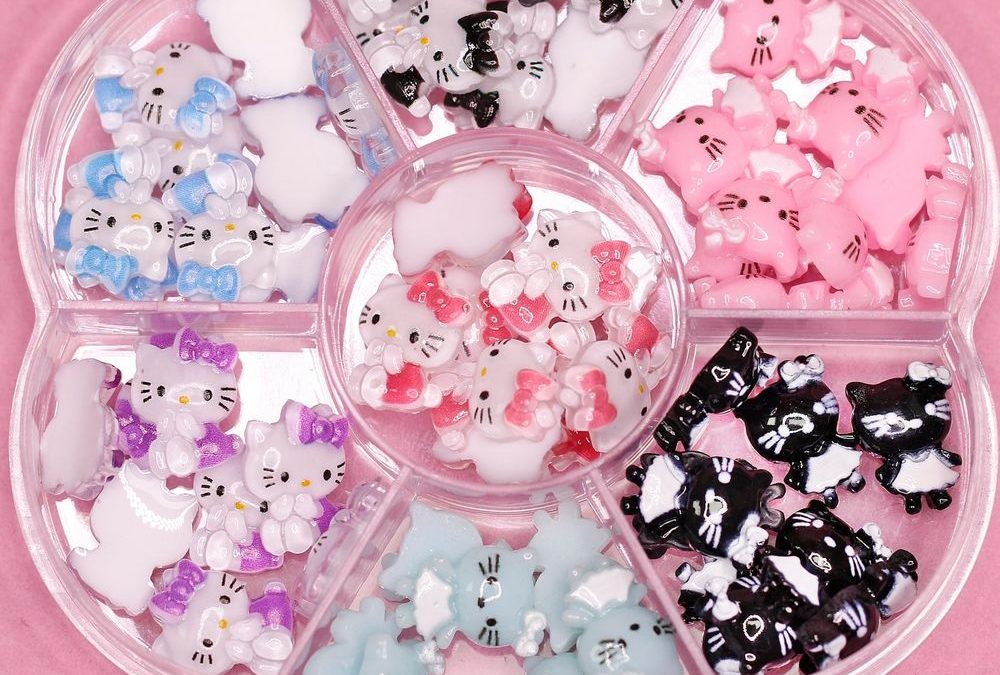
Small, playful accents can transform a simple manicure into a statement. A Hello Kitty nail charms set gives beginners an easy, creative way to add character and texture to nails without complex tools or costly salon visits.
What’s inside this kit?
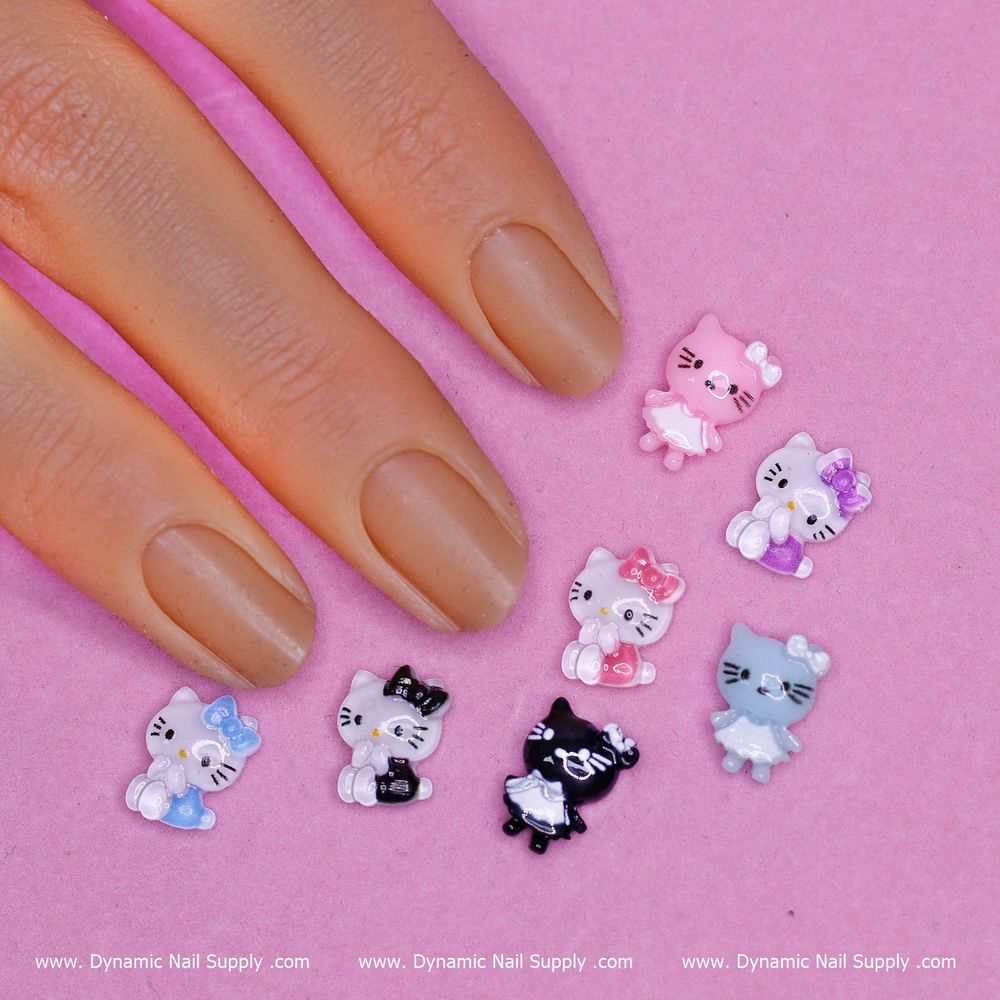
The set contains 70 assorted charms featuring Hello Kitty and other kawaii-inspired shapes and motifs. Designs span kitty faces, tiny teddy bears, gummy-bear silhouettes and cartoon-style icons—offering plenty of variety to mix and match across manicures.
If you want to view the full assortment, check the product listing Nail Charms Hello Kitty for photos and quantity details.
Key features explained for beginners
- Large quantity: 70 pieces gives you multiple looks and practice runs without running out of pieces quickly.
- Mix-and-match designs: Varied motifs let you create themed sets, accent nails, or random kawaii collages.
- Budget-friendly: The set is sold at an accessible price point, making it easy to experiment without a big investment.
Step-by-step: applying charms for long-lasting results
Below is a beginner-friendly workflow. Adjust products and timing based on the polish or gel system you use.
- Prep the nail: File and shape, push back cuticles, and buff the nail surface lightly to remove shine.
- Base & color: Apply base coat then your chosen polish or gel color. Cure gel layers as directed.
- Placement method: For regular polish, use a dab of quick-drying nail glue or a thick topcoat to position the charm. For gel systems, place charms into a thin layer of uncured builder or gel topcoat and then cure.
- Secure: Apply a generous layer of topcoat around the edges and over small flat charms. For taller or irregular pieces, seal only around the base and consider an extra glue dot beneath the charm.
- Finish: Once everything is secure, wipe off any tacky residue if using gel and add a final seal layer if needed.
Design ideas any beginner can try
- Single accent nail: Keep four nails simple and place a Hello Kitty charm on the ring finger for an instant focal point.
- Polka dot frame: Paint a contrasting color, add a tiny ring of dots around a charm to make it pop.
- Kawaii collage: Mix tiny bears and kitty faces across two or three nails to create a playful scene.
- Minimal sparkle: Use a clear base with a single charm and small glitter flakes for a restrained look.
Practical tips to avoid common beginner mistakes
- Don’t overload glue: Excess adhesive can seep out and dull surrounding polish—use small amounts and remove overflow before it dries.
- Think about profile: Chunkier charms may catch on fabrics; reserve them for accent nails or use them on shorter, flatter nail beds.
- Secure edges: Seal the base of any charm to prevent lifting—this is more important than coating the whole charm, which can alter its appearance.
- Practice placement: Lay out a design on a clean surface before placing to visualize spacing and balance.
Care, removal and safety notes
Treat charms like small jewelry: avoid strong impacts and prolonged soaking when possible to extend wear. To remove, gently lift the charm after softening the adhesive with an acetone soak or by filing the topcoat away—never force pieces loose, as that can damage the natural nail.
Keep these pieces away from young children who might put small items in their mouths.
Who should buy this set?
This 70-piece kit is ideal for beginners experimenting with nail art, hobbyists who enjoy seasonal or themed looks, and professional techs building a kawaii-style options tray. Priced accessibly at $8.00, it’s a low-risk way to try charm-based decoration.
Sold by Dynamic Nail Supply LLC, the set is a convenient addition to a nail starter kit or a creative stash for DIY manicures.
Final thoughts
A Hello Kitty nail charms set gives you a playful, approachable route into nail decoration. With a little practice following the steps above, even a beginner can create charming, salon-worthy accent nails that show personality and creativity.